Buying a Used Upfitted Cargo Van: Keep, Adapt or Replace the Shelving?

A used upfitted cargo van can be a good purchase when its installed equipment fits your tools, loading routine and remaining weight capacity. Shelving adds value when you can use it. If it blocks your largest machine, needs substantial repairs or must come out immediately, compare the van as a vehicle that still needs setup work.
This guide focuses on buying the equipment already inside a used van. Fred Noyes at SRQ Auto brings 29 years of experience across multiple dealership roles. Bring your tool list and purchase questions to Fred for help comparing a specific van’s layout and included equipment. Start with current used cargo vans in Bradenton, then test the specific layout against your work.
Bring three real items to the van inspection
Choose your largest regularly carried machine, your most frequently opened tool case and a typical parts container. A plumber might bring a drain machine and fittings case. An electrician might bring a tester case and connector organizer. An HVAC technician might bring a recovery machine and commonly used service tools.
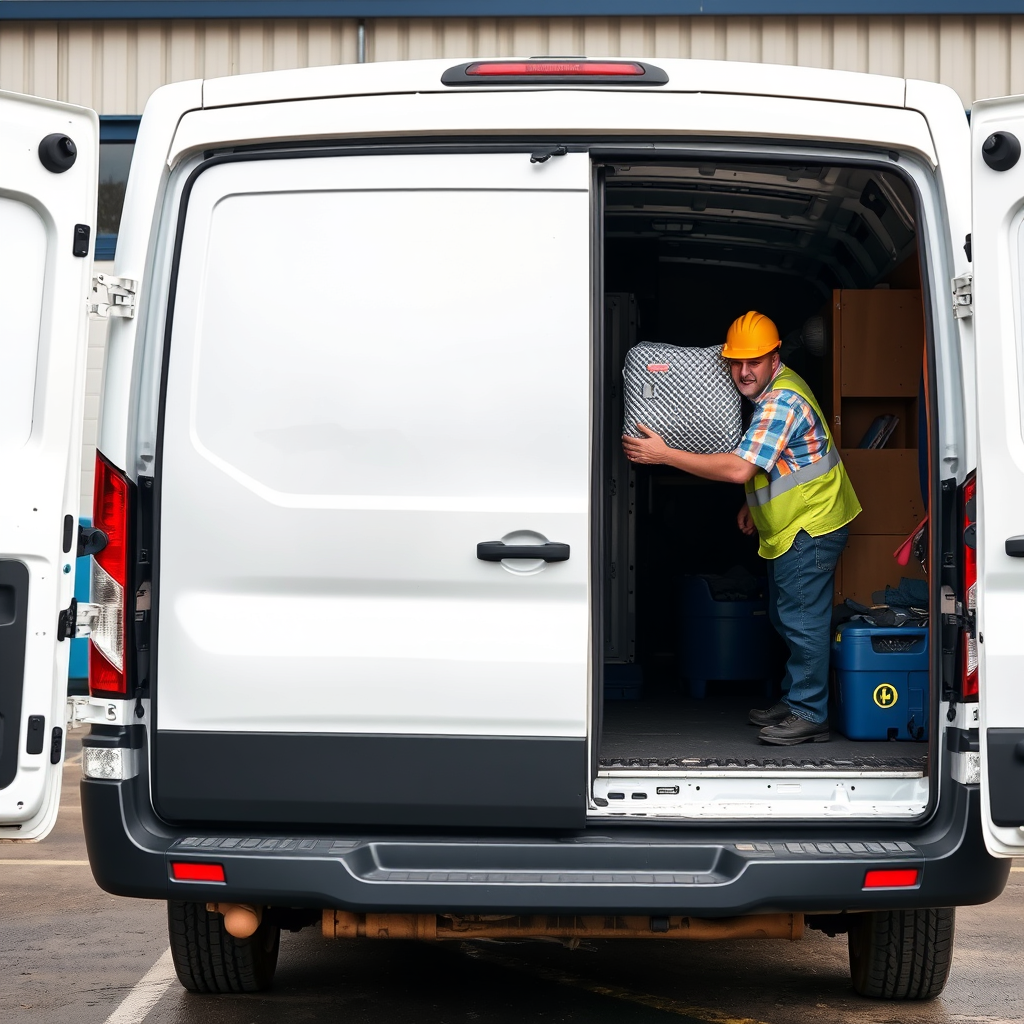
With permission, check whether those items pass through the intended door, fit their proposed storage positions and can be retrieved without unloading other equipment. Measure the cases themselves, including handles and latches. An advertised shelf width tells you little if a door frame or drawer face narrows the usable opening.
For a remote purchase, send those measurements and request a video following the same sequence. Have the camera show the doorway, aisle and storage position together. A close-up of a neat shelf cannot establish that your equipment will reach it.
Separate included equipment from useful equipment
Ask which shelves, drawers, bins, racks, partitions and accessories are included in the sale. Photos can show removable equipment that needs confirmation. Look for manufacturer labels and product numbers; replacement hardware or compatible accessories may be easier to identify when the original system is known.
Inventory every component as keep, adapt or remove. This prevents paying extra for a crowded cargo area simply because it looks extensively equipped. Use the same list when comparing an empty van that needs a new installation.
| Decision | Evidence to obtain before buying |
|---|---|
| Keep | Useful dimensions, working latches, identifiable equipment and acceptable installation condition. |
| Adapt | A qualified installer confirms compatible changes, required parts, cost and timing. |
| Remove | Removal, abandoned mounting holes, wiring and replacement storage are included in the plan. |
Test the layout during an ordinary service call
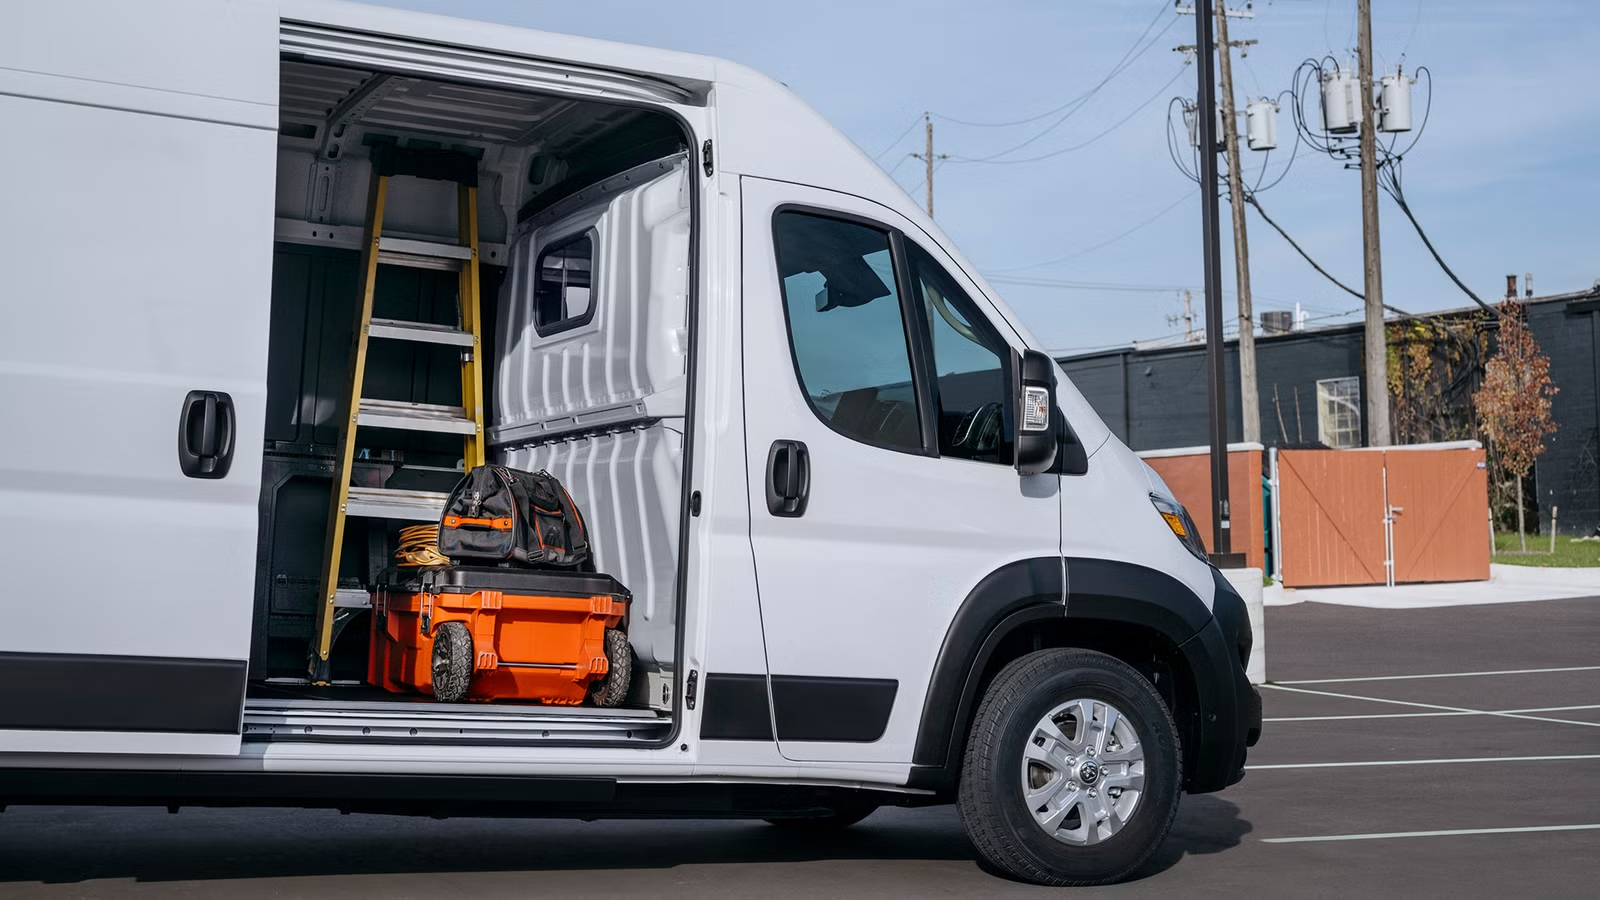
Imagine arriving at one of your normal stops. Which door would you open first? Can you reach frequently used parts from there? Does a drawer open completely with the side door in its working position? Can you remove a case without lifting it over another shelf?
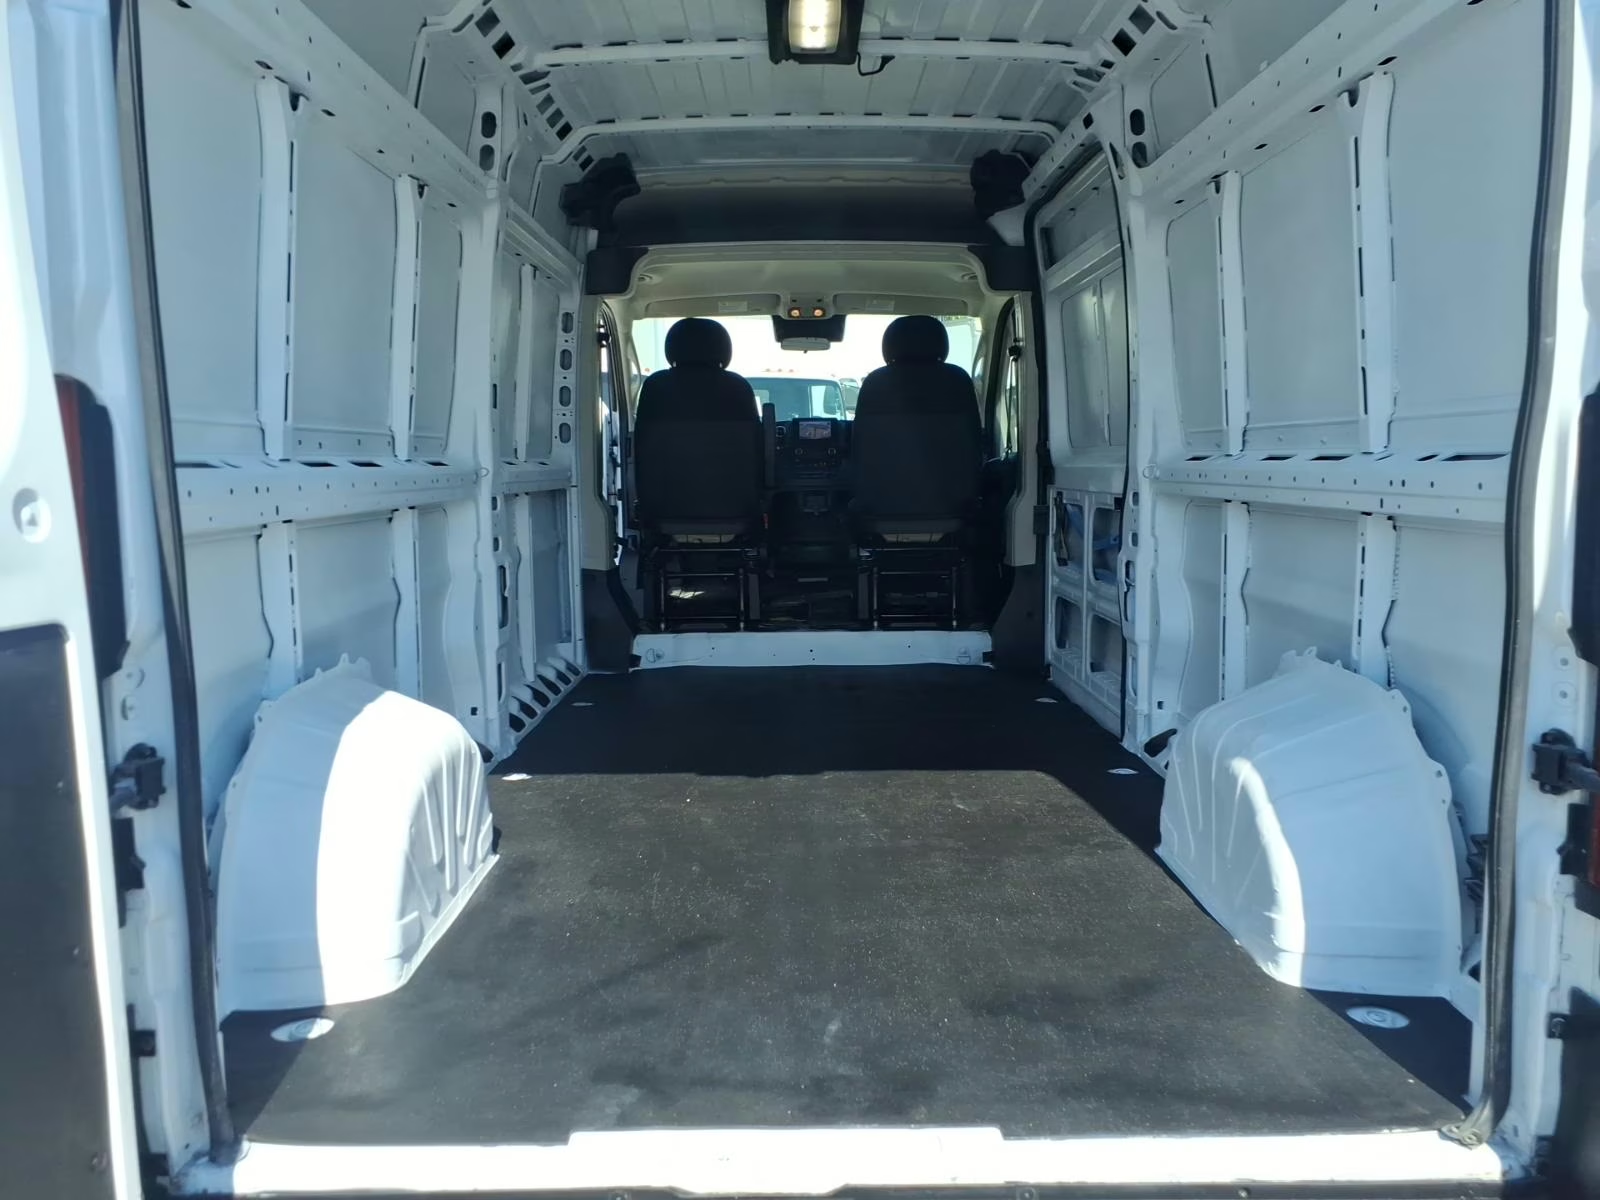
Then test the awkward job: loading your largest machine while the everyday supplies stay aboard. A clear center aisle in an empty listing photo may disappear once the working load is added. A deeper shelf might store more parts but leave insufficient floor space for bulky equipment.
Consider your Bradenton or Sarasota parking locations too. Side access may be useful where rear unloading space is limited. Roof height, a fitted ladder rack and overhead-door clearance must suit the actual route. The tallest van is not automatically the most practical.
Inspect the installation underneath the tidy appearance
Open every drawer and cabinet. Check latches, runners, hinges, shelf supports and visible brackets for damage, looseness or corrosion. Look for bent components and signs that heavy equipment has pulled against its mounting points. Ask permission before lifting removable mats to inspect accessible floor areas.
A clean finish does not prove correct installation. Adrian’s installation resources provide instructions by equipment type. Use the instructions for the actual system; have a qualified installer assess questionable mounts or changes. Do not assume another bolt or a fresh coat of paint resolves damaged structure.
Inspect a partition’s fit, condition and cab-seat clearance. Verify the installed product and mounting method rather than describing every metal barrier as crash certified. Shelves and a partition also do not replace suitable restraint for the individual tools and cargo.
Check the doors and equipment you cannot see in one photo
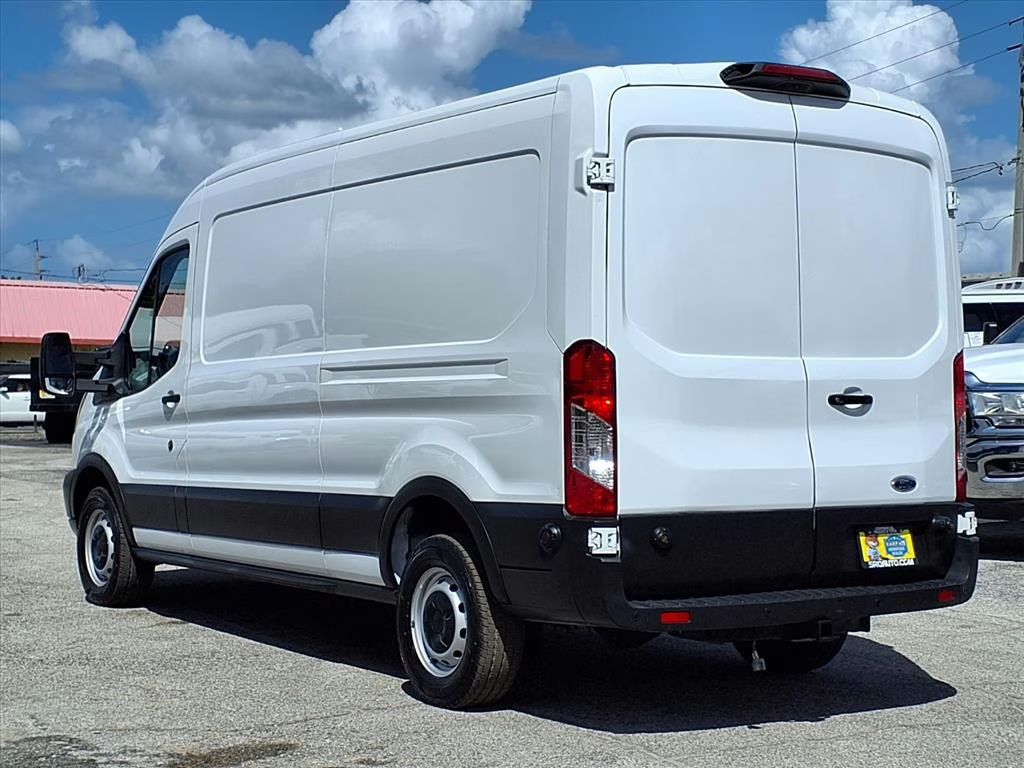
Walk around the rear doors, side opening and any roof-mounted equipment. Verify that locks work and keys are supplied. Inspect glass, seals and visible rack mounts. Check the actual clearance needed to operate a drop-down rack, not just the van’s parked height.
Ask what powers added lights, outlets or chargers. A household-style socket is not proof that an installed system suits your machine. Have undocumented wiring, battery additions or charging equipment assessed by a qualified professional. Include necessary repairs in the purchase decision before relying on that equipment.
Keep space for the awkward items that do not live on shelves: a folded cart, replacement component or tool returning dirty from a job. Decide where those items will be secured. Storage that works only with a showroom-empty floor may not work through a full service day.
Calculate the weight of the finished working van
Shelving, flooring, racks and other installed equipment consume carrying capacity. So do occupants, tools, parts and supplies. Ford’s load-limit guidance explains that added equipment changes available payload and that axle ratings matter alongside the vehicle’s overall rating.
Obtain the specific van’s labels and relevant manual. Where needed, use actual scale weights with a clearly recorded loading condition. Account for equipment already included in that weight once; do not subtract it again. Check loaded axle weights as well as total weight with qualified help.
A model badge or empty cargo volume cannot answer this question. Two vans with similar shelves may have different ratings, permanent equipment and remaining capacity for your daily load.
Price the changes before crediting the upfit
Compare the delivered vehicle price plus the work needed to make the layout useful. Include missing bins, replacement locks, installation repairs, removal, flooring work and any professional electrical assessment. Obtain a written estimate rather than treating installed equipment as free or assigning it the original new purchase price.
Compare that total with an appropriately specified empty van and a quoted installation. Include the expected ready date in both options. Actual availability and installer schedules determine timing; neither a same-day start nor a fixed savings percentage should be assumed.
Existing shelving may be adjustable, but transferring it to a different van is a separate fitment question. Confirm vehicle dimensions, mounting kits and compatibility with the equipment manufacturer or installer before budgeting for a future transfer.
Look beyond the shelves when judging preparation
Evaluate the underlying van independently: mechanical condition, tires, glass, doors, available maintenance records and evidence of water entry. Photograph abandoned holes, damaged liners or exposed wiring for discussion. Ask what preparation was actually completed on that vehicle and which remaining changes are your responsibility.
SRQ Auto’s commercial reconditioning addresses identified needs. On a used work van, that may involve mechanical service, tires, glass or upholstery, cargo-area cleaning and attention to worn floors, panels or equipment. A professional-looking workspace matters, but appearance alone does not establish mechanical condition or installation quality.
Review warranty and service-contract information for actual eligibility, coverage, exclusions and deductibles. Ask specifically about installed accessories rather than assuming shelves or aftermarket electrical equipment are covered. The Job Ready Promise is preparation for commercial use, not a promise that future repairs disappear.
A real configuration to examine, not a universal specification
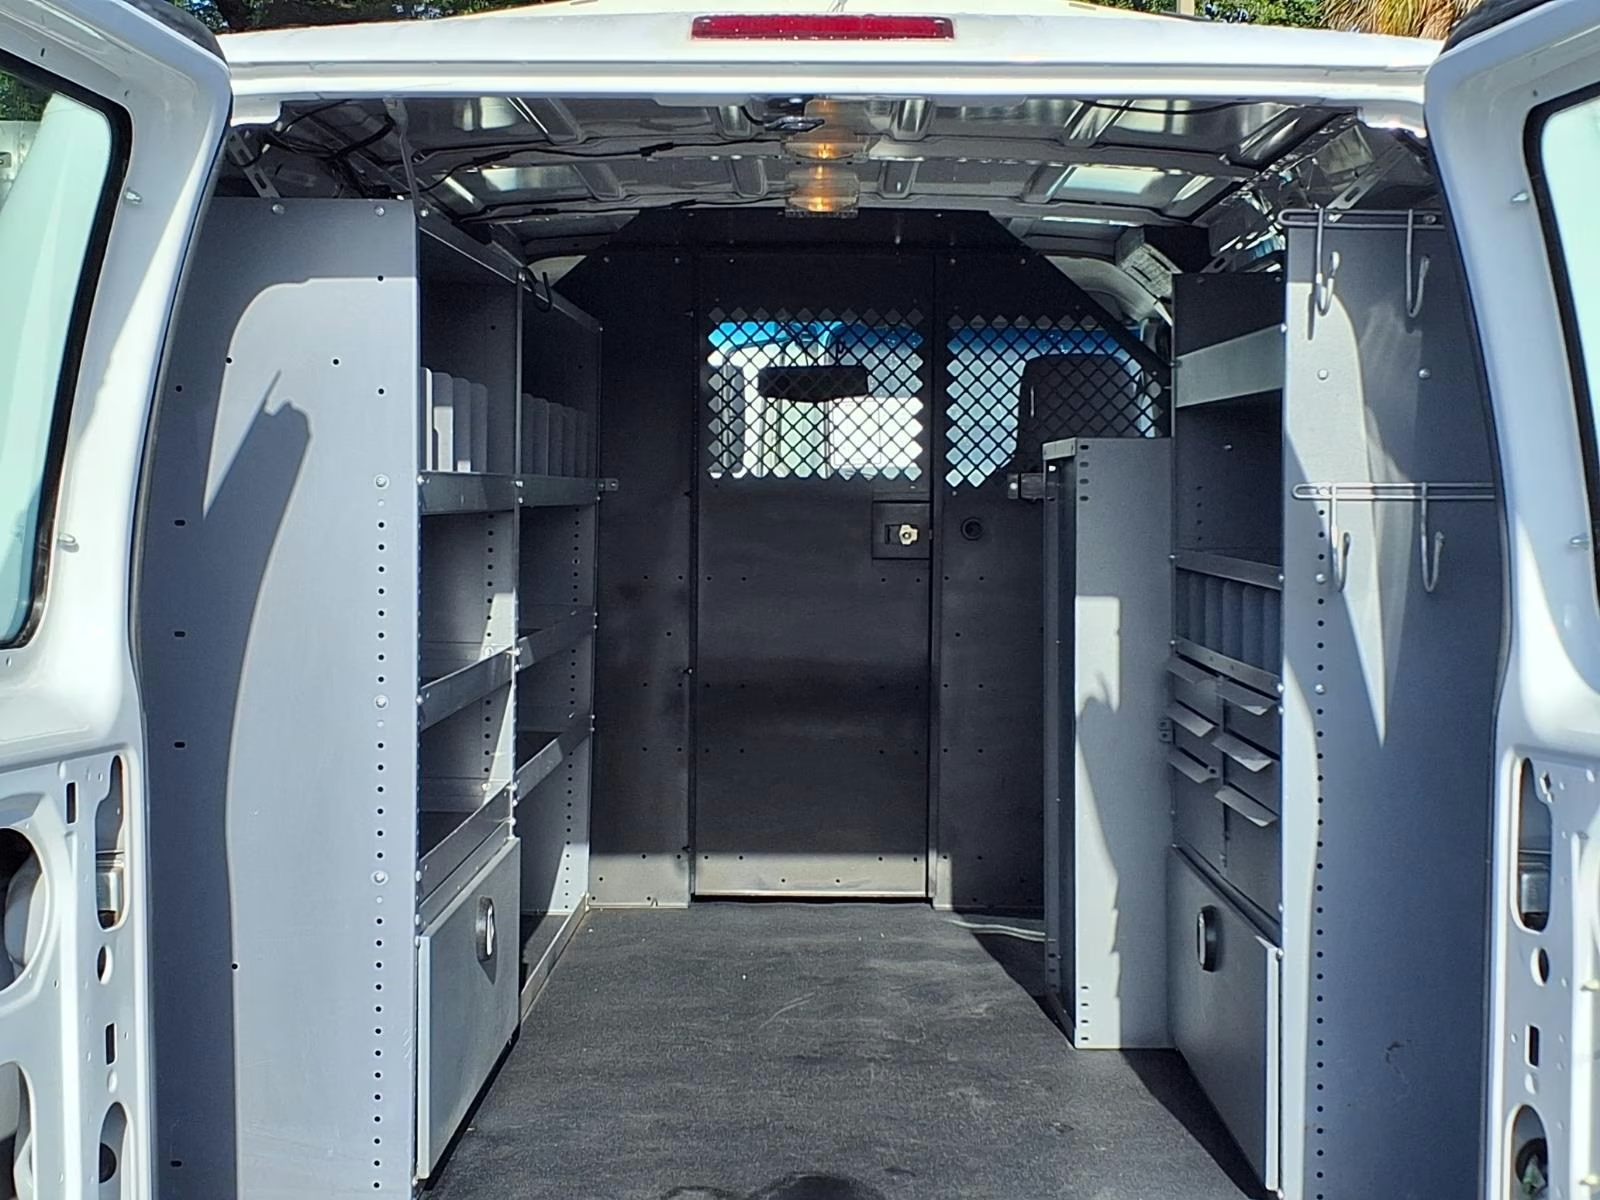
During this guide’s October 23, 2026 preparation, SRQ listed a 2019 Ford Transit 250, stock E197, with a Medium Roof, steel shelving, drawers, a cabinet, pass-through partition and drop-down ladder rack. That list creates specific inspection questions: does your case fit the cabinet, does the partition suit the driver, and can your crew use the rack where they park?
E197’s dealer update panel also listed new brake pads and rotors, a new battery, fresh oil and filter, a cabin air filter and wiper blades. Ask to review the completed work alongside the upfit inspection. Mechanical preparation and a useful interior answer different parts of the buying decision.
Those details describe that listed van, not every Transit or upfitted cargo van. Confirm availability and equipment before visiting. If the unit has sold, use the same questions on current inventory rather than choosing another van solely because it shares the badge.
Turn your tool list into a practical enquiry
Tell Fred and the SRQ team your trade, largest item’s dimensions, daily load and parking limits. Ask for a walkaround showing the exact equipment included, its operation and the areas you want measured. Confirm current availability before arranging travel or delivery.
SRQ Auto is an independent Bradenton commercial dealer founded in 2011, serving Sarasota, Tampa Bay, Florida and buyers nationwide. Explore Tailored Commercial Financing, subject to lender approval and terms. Read customer reviews, learn about SRQ Auto, or get directions. Call (941) 214-2231 with one useful question: can this van carry our normal tools without rebuilding the entire interior?